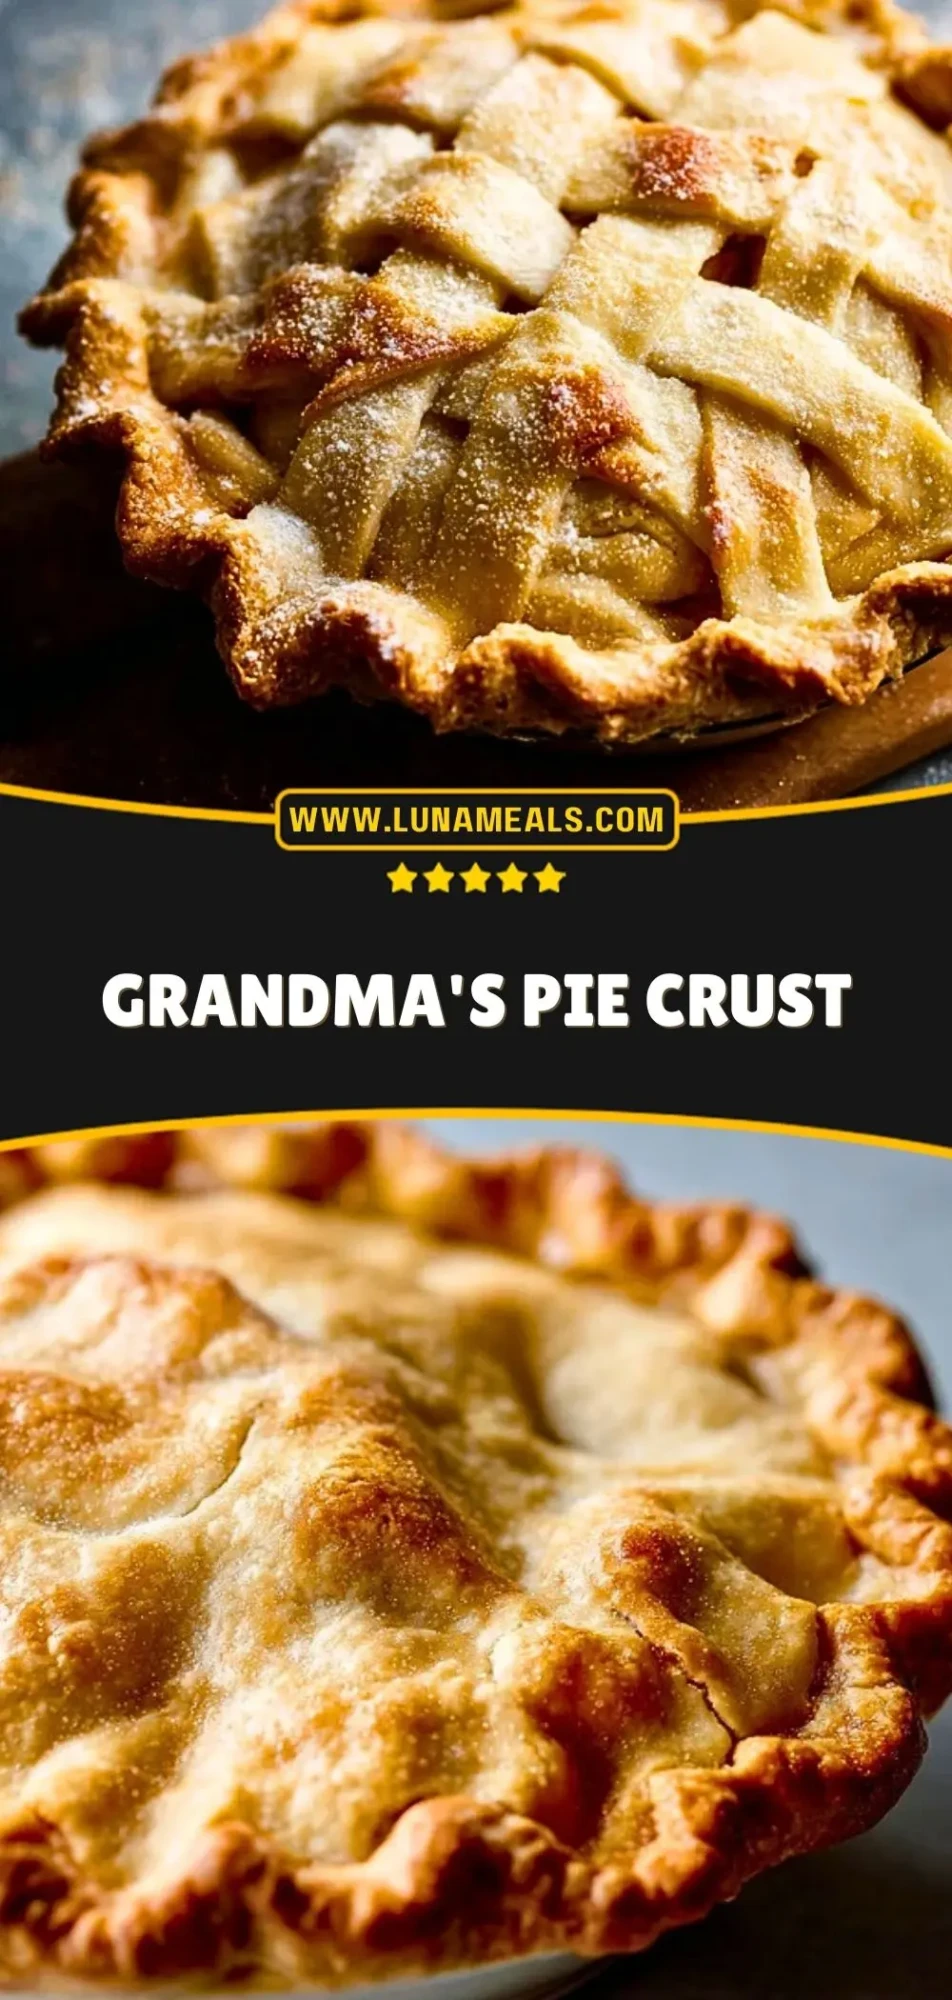
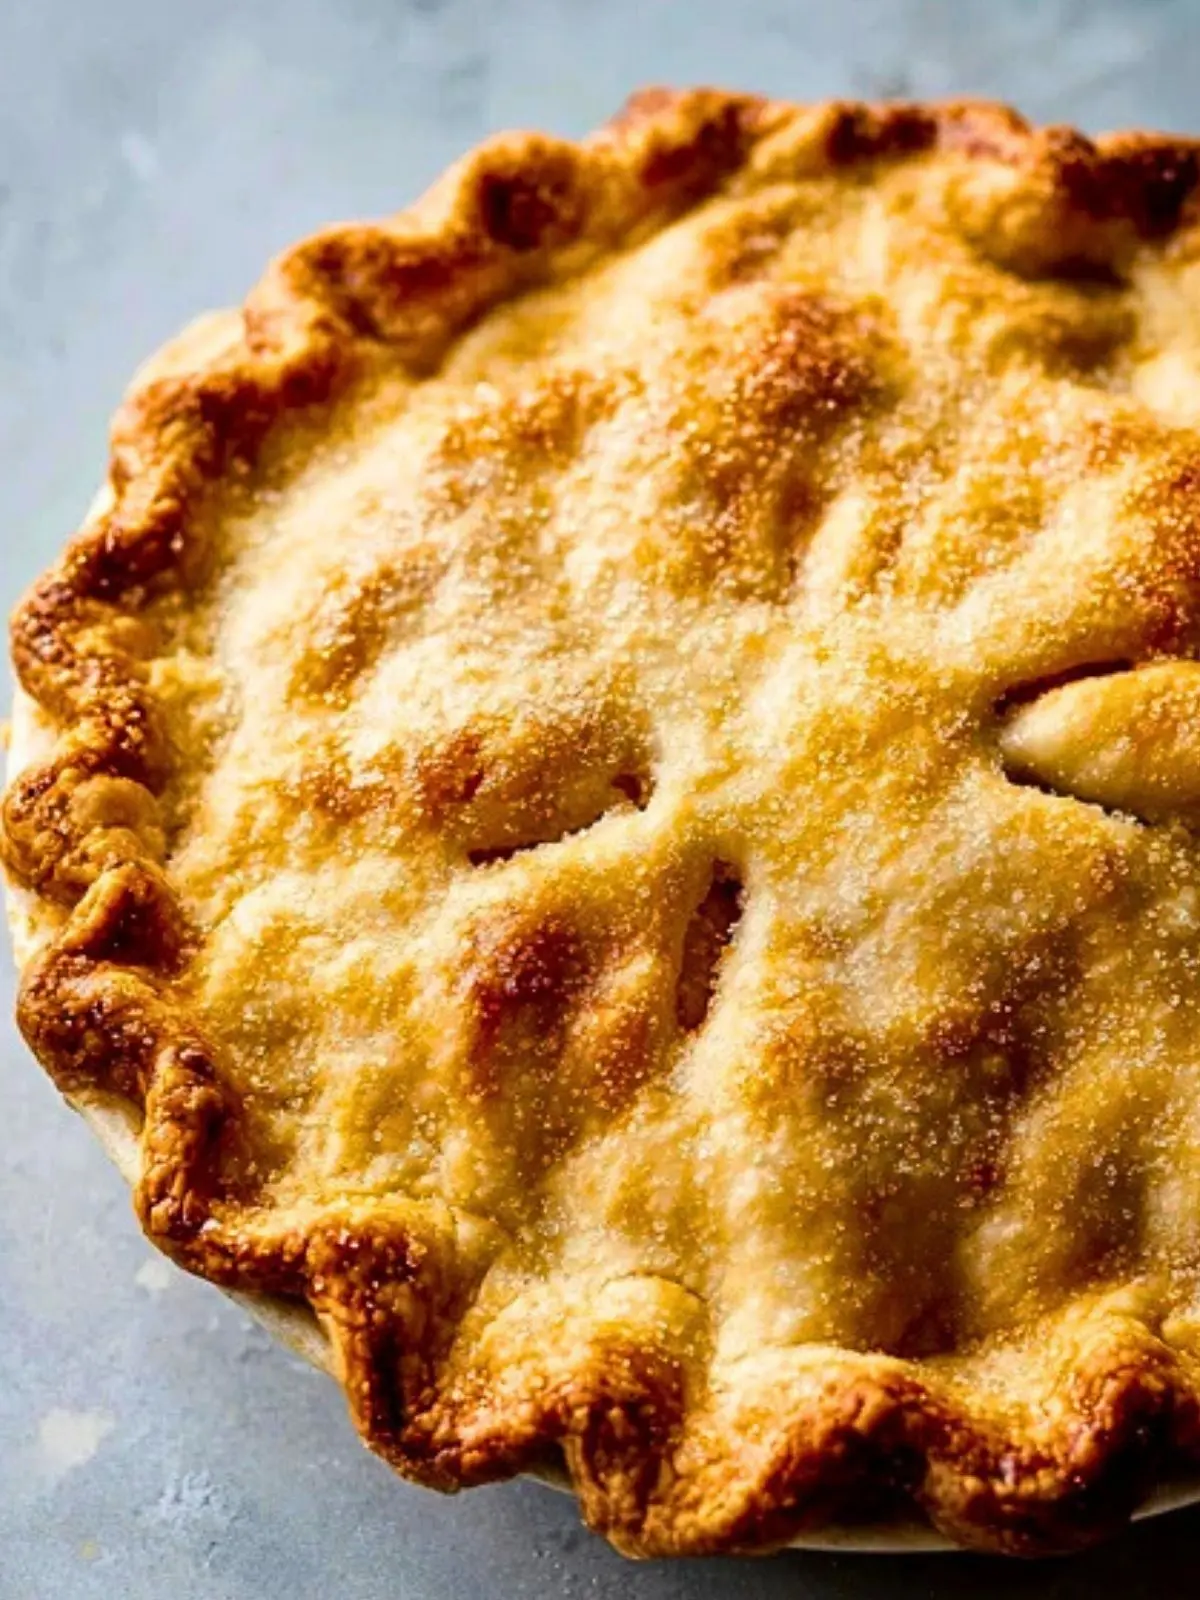
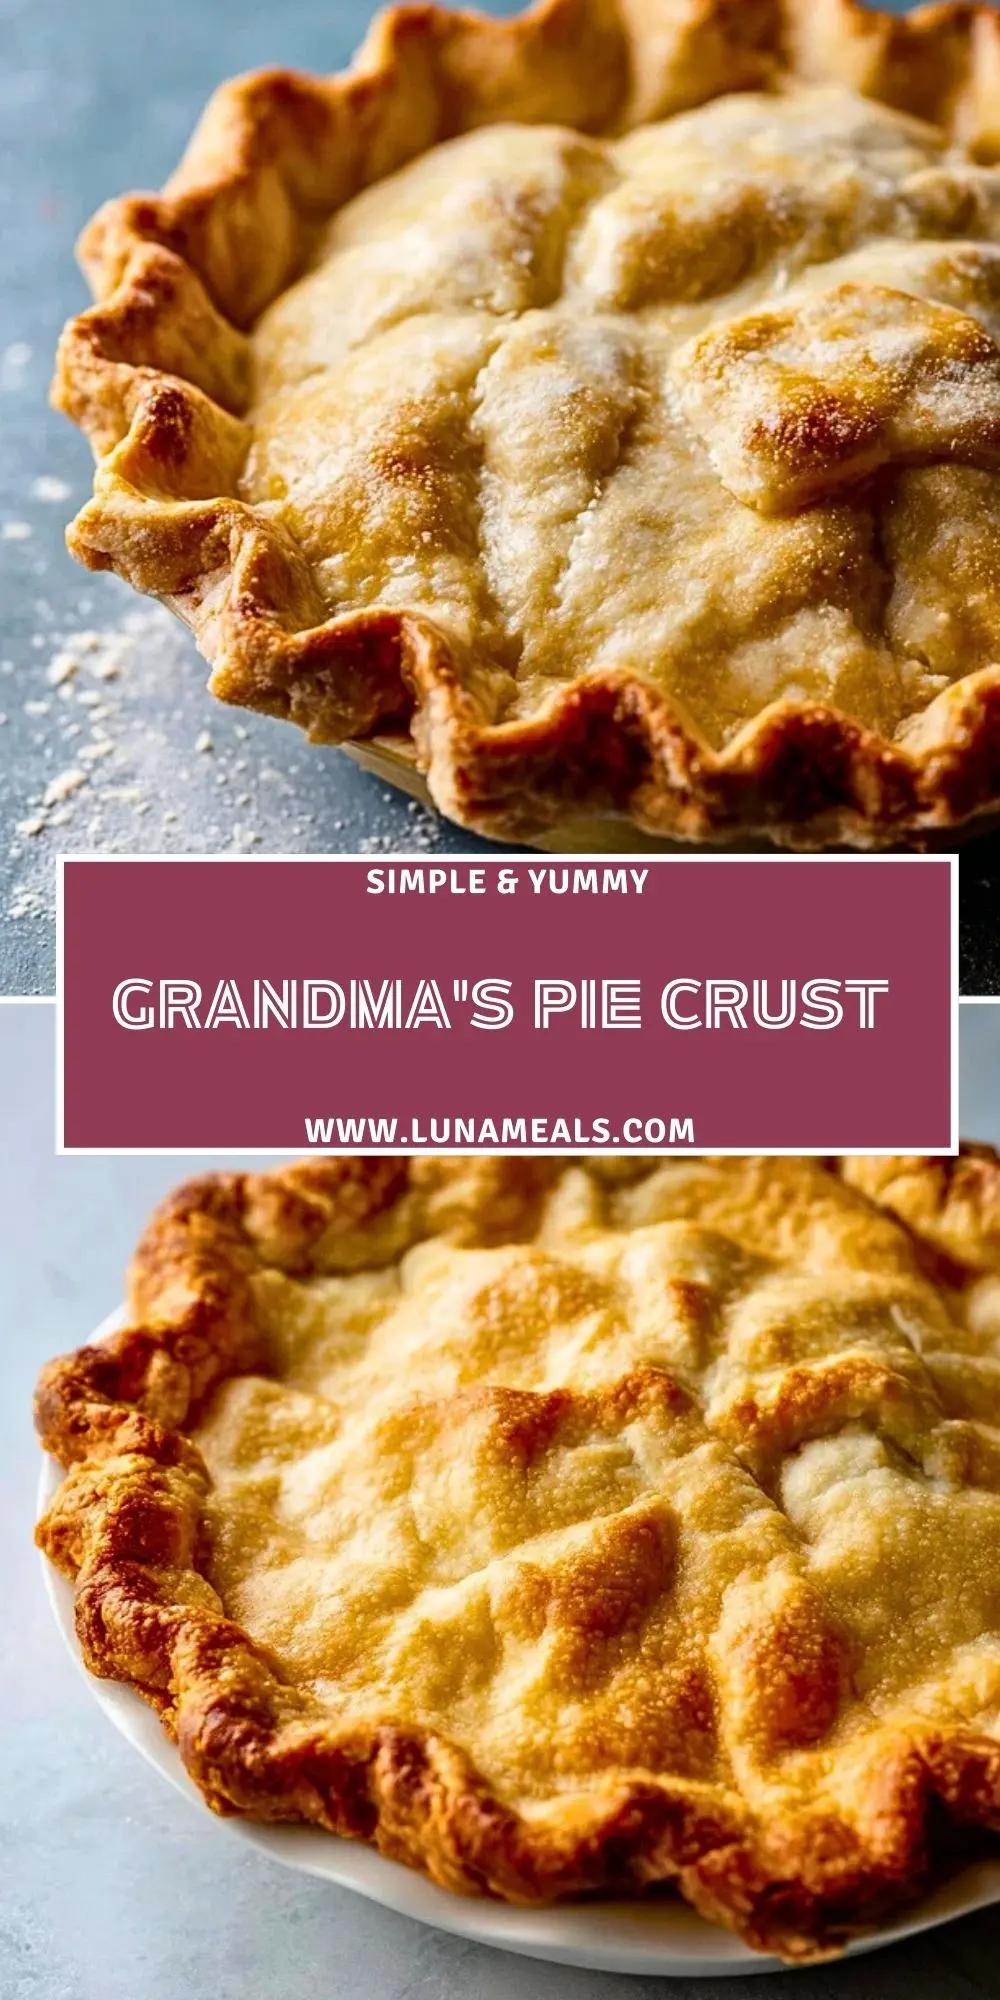
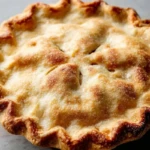
Grandma’s Pie Crust
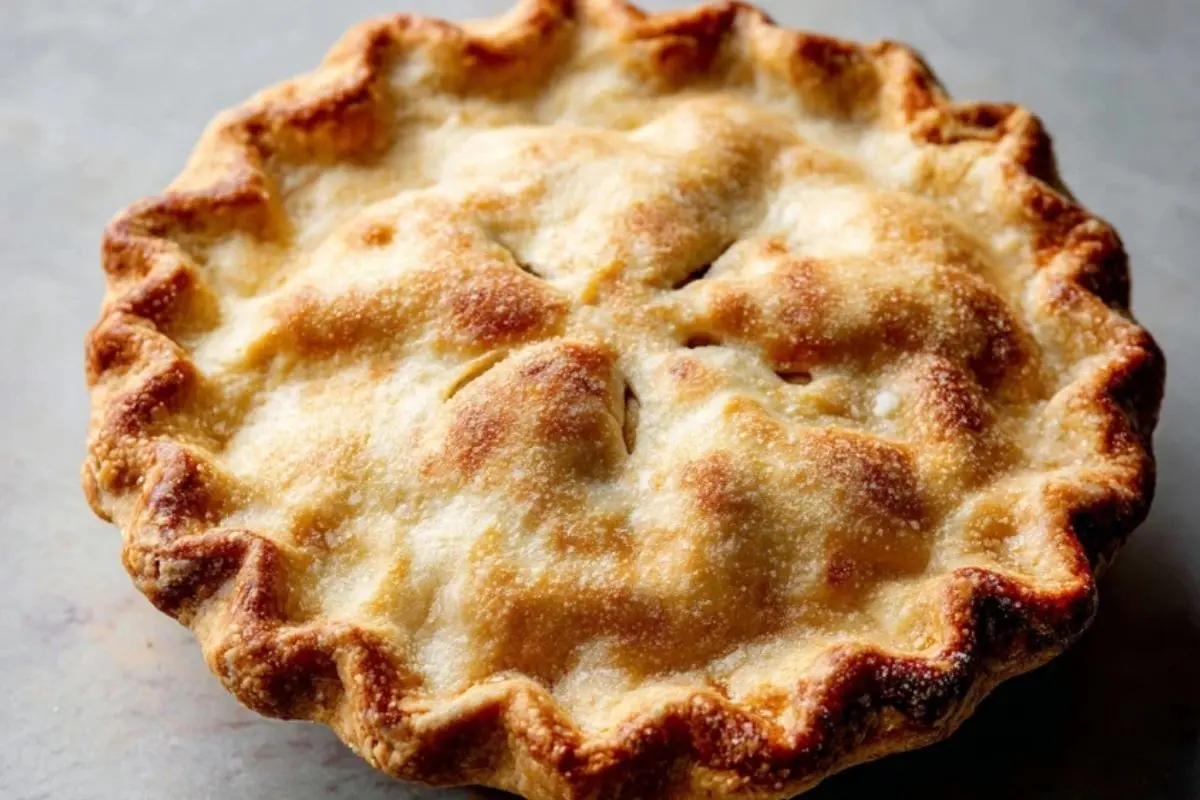

A flaky, tender, golden pie crust made from scratch carries with it a whisper of tradition, a memory of Sunday afternoons, and the warmth of a grandma’s kitchen. This isn’t just any pie crust; it’s the one that framed every holiday dessert, held every summer fruit filling, and cradled every savory meat pie at family gatherings.
This pie crust recipe has been passed down like a treasure. It’s delightfully simple, yet results in the most delicious, buttery base you can imagine. Whether you’re making a sweet peach pie or a hearty chicken pot pie, Grandma’s Pie Crust is the foolproof foundation for your creations.
Why You’ll Love This Pie Crust
This crust is buttery and crisp on the edges, while meltingly tender beneath the filling. It uses everyday ingredients and can be made ahead, chilled, or even frozen for later. With just a little love and technique, you’ll get that perfect golden finish that shatters slightly under your fork, the way all great pie crusts should.
What Kind of Fat Should I Use for Pie Crust?
Butter gives rich flavor and beautiful layers, while shortening provides that ultra-tender, melt-in-your-mouth texture. This recipe uses both. The butter adds the flavor you crave, and the shortening makes sure your crust stays soft and easy to work with. If you only have one or the other, you can use just butter, but the combination really brings out the best of both worlds.
Ingredients for the Grandma’s Pie Crust
The key to a beautiful homemade pie crust is balance. You need the right fat, flour, and liquid ratio to get it just right. It also helps to keep everything cold to prevent the fat from melting before baking.
- All-purpose flour – This forms the base structure of the dough.
- Unsalted butter – Adds flavor and those perfect golden layers.
- Vegetable shortening – Gives the crust a soft, flaky bite.
- Salt – Balances the flavors and strengthens the dough.
- Ice water – Keeps the dough cool and manageable.

How To Make the Grandma’s Pie Crust
Step 1: Combine Dry Ingredients
In a large mixing bowl, whisk together the flour and salt. Make sure they’re evenly mixed so every bite of crust is balanced.
Step 2: Cut in the Fats
Add the cold, cubed butter and shortening. Use a pastry cutter or your fingertips to work the fat into the flour until the mixture resembles coarse crumbs. You want some pea-sized bits of fat remaining — these will create flakiness.
Step 3: Add Ice Water
Drizzle in the ice water, a tablespoon at a time, gently stirring with a fork. Stop when the dough holds together without being wet or sticky. It should clump when you squeeze it in your hand.
Step 4: Chill the Dough
Divide the dough into two equal discs. Wrap each in plastic wrap and refrigerate for at least one hour. This resting period allows the gluten to relax and the fats to chill.
Step 5: Roll Out and Use
Lightly flour your surface and rolling pin, then roll the dough from the center outward into a 12-inch circle. Carefully transfer to your pie dish, trim and crimp the edges, and fill as desired.
How to Serve and Store Grandma’s Pie Crust
Once baked, this crust will hold its shape beautifully, making it ideal for creamy custard pies, juicy fruit fillings, or even rich savory quiches. It feeds up to 8 people per 9-inch pie. If you’re prepping in advance, the unbaked dough will keep in the fridge for up to 3 days, and in the freezer for up to 3 months. Just thaw in the fridge before rolling out.
What to Serve With Grandma’s Pie Crust?
Apple Cinnamon Pie
Warm spiced apples tucked into this flaky crust is a match made in heaven.
Chicken Pot Pie
The perfect comfort food dinner with a golden top crust.
Pumpkin Pie
This crust stays crisp and firm under velvety pumpkin filling.
Lemon Meringue Pie
That buttery crunch under tart lemon and fluffy meringue is unbeatable.
Quiche Lorraine
Savory pies benefit from a rich, flaky base like this one.
Cherry Lattice Pie
The crisp lattice really shines with this structured crust.
Chocolate Silk Pie
Buttery base, silky mousse—a dreamy combo.
Want More Pie Ideas?
If you love mastering the classics like Grandma’s Pie Crust, you might enjoy these other baking favorites:
- Easy Banana Cream Pie Recipe
- Southern Banana Cobbler Recipe
- Peanut Butter Cornflake Cookies
- Old Fashioned Corn Fritters
- Small Batch Pistachio Cream Cinnamon Rolls
Save This Recipe For Later
📌 Save this recipe to your Pinterest dessert board so you can come back to it any time.
And let me know in the comments how yours turned out. Did you go all-butter or stick with the combo? Did you pre-bake it or fill it raw? I love hearing how you make these classics your own.
Explore beautifully curated health-boosting drinks on Luna Meals on Pinterest and discover your new go-to for feeling great!
Conclusion
Grandma’s Pie Crust is more than just a base for your pies—it’s the beginning of countless memories and shared meals. Once you make it from scratch, you’ll never want to go back to store-bought. It’s buttery, flaky, and surprisingly easy to master. Keep this one in your back pocket for every pie season to come.
Grandma’s Pie Crust
- Total Time: 1 hour 15 minutes
- Yield: 2 crusts
- Diet: Vegetarian
Description
This Grandma’s Pie Crust recipe is the ultimate flaky, buttery homemade pie crust made from scratch with simple ingredients like flour, butter, and shortening. Perfect for sweet or savory pies, it’s a classic old-fashioned crust that turns golden and tender every time.
Ingredients
1 1/4 cups all-purpose flour
1/2 cup unsalted butter, cold and cubed
1/4 cup vegetable shortening, cold
1/2 teaspoon salt
3 to 5 tablespoons ice water
Instructions
1. In a large bowl, whisk together the flour and salt.
2. Add the cold butter and shortening. Use a pastry cutter or your fingers to mix until the texture resembles coarse crumbs with some pea-sized pieces of fat.
3. Gradually add ice water, one tablespoon at a time, mixing gently with a fork until the dough comes together and holds when squeezed.
4. Divide the dough into two equal disks, wrap in plastic wrap, and chill for at least one hour in the refrigerator.
5. Lightly flour your surface and roll one disk into a 12-inch circle.
6. Carefully place the rolled dough into your pie dish, trim the edges, crimp as desired, and fill as needed.
7. Bake as directed for your pie recipe or blind bake if your filling does not require baking.
Notes
Keep your butter and shortening very cold for the flakiest crust.
Do not overwork the dough once water is added to avoid toughness.
You can freeze the dough disks for up to 3 months.
- Prep Time: 15 minutes
- Cook Time: 0 minutes
- Category: Baking
- Method: Mixing and rolling
- Cuisine: American
Nutrition
- Serving Size: 1 slice (1/8th of 9-inch pie)
- Calories: 210
- Sugar: 0g
- Sodium: 95mg
- Fat: 15g
- Saturated Fat: 7g
- Unsaturated Fat: 7g
- Trans Fat: 1g
- Carbohydrates: 17g
- Fiber: 1g
- Protein: 2g
- Cholesterol: 20mg