Crispy and Delicious Easy Chinese Egg Rolls Recipe

I’ve made these crispy Chinese egg rolls more times than I can count, and each time, they disappear faster than I can stack them on the platter. There’s just something about that golden, bubbly crust giving way to a savory filling that’s both hearty and packed with flavor. Every bite has that familiar crunch followed by an explosion of tender vegetables and seasoned meat that takes me straight to my favorite dim sum table.
What I love most is how surprisingly easy these are to make at home. The prep work is almost therapeutic: chopping cabbage, slicing mushrooms, sautéing garlic until your kitchen smells like a bustling Chinese street food stall. And once you start rolling them up, you’ll see why I find it oddly satisfying. I’ve tweaked this recipe over the years to balance crispness with juiciness, and I’m finally ready to say—it’s perfect.
If you’re looking to bring some takeout magic to your own kitchen, these homemade egg rolls deliver every time. Whether you’re feeding your family or impressing guests, this recipe makes you look like a total kitchen pro without breaking a sweat.


Why You’ll Love This Crispy and Delicious Easy Chinese Egg Rolls Recipe
This recipe checks every box for the perfect appetizer or snack. The wrapper turns delightfully crispy while the inside stays hot and flavorful. You can customize the filling endlessly, use up leftover veggies, or make a big batch ahead of time and freeze for later. And let’s not forget, homemade egg rolls always taste fresher and better than anything store-bought. Once you bite into one of these, you’ll understand why they never last long around here.
How to Make Crispy and Delicious Easy Chinese Egg Rolls (Step 1, 2, 3…)
Step 1: Prepare the Filling
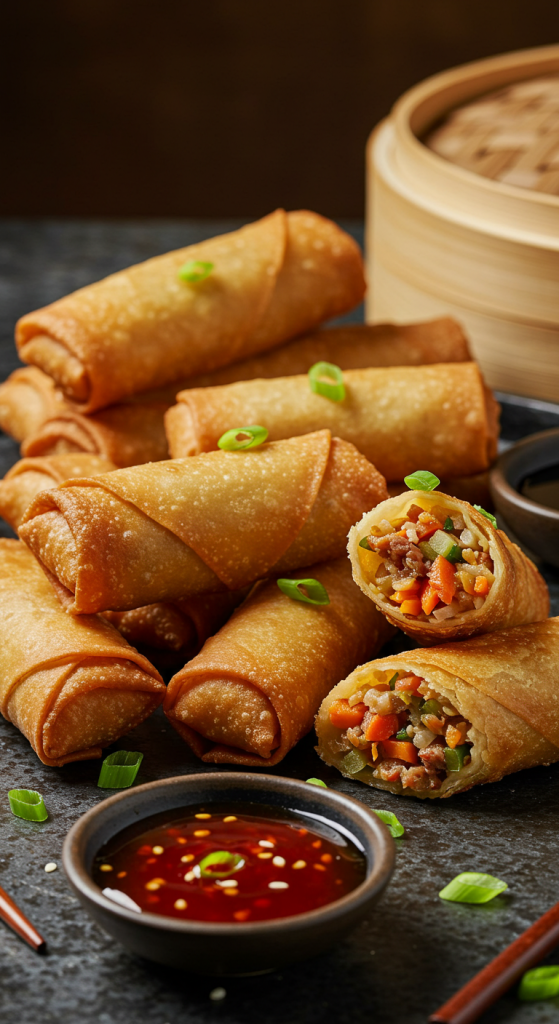
In a large skillet over medium-high heat, sauté ground pork (or chicken) until no longer pink. Add minced garlic, grated ginger, soy sauce, and a dash of sesame oil. Stir in shredded green cabbage, carrots, and chopped mushrooms. Cook until vegetables are tender and the mixture is fragrant. Let it cool completely.
Step 2: Wrap the Egg Rolls
Lay an egg roll wrapper on a clean surface in a diamond shape. Place about 2 tablespoons of filling near the center. Fold the bottom corner up over the filling, then fold in the sides, and roll tightly. Seal the tip with a dab of water to close.
Step 3: Fry to Golden Perfection
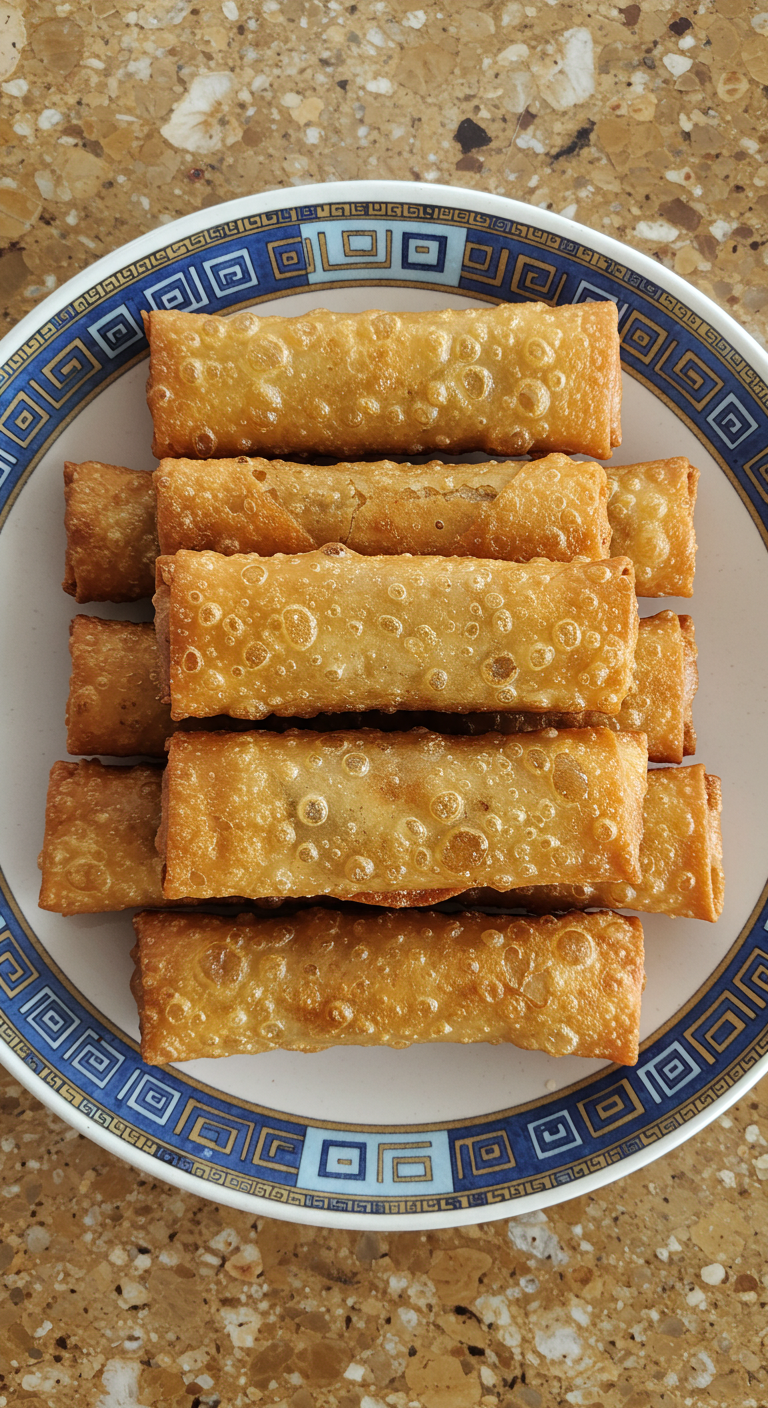
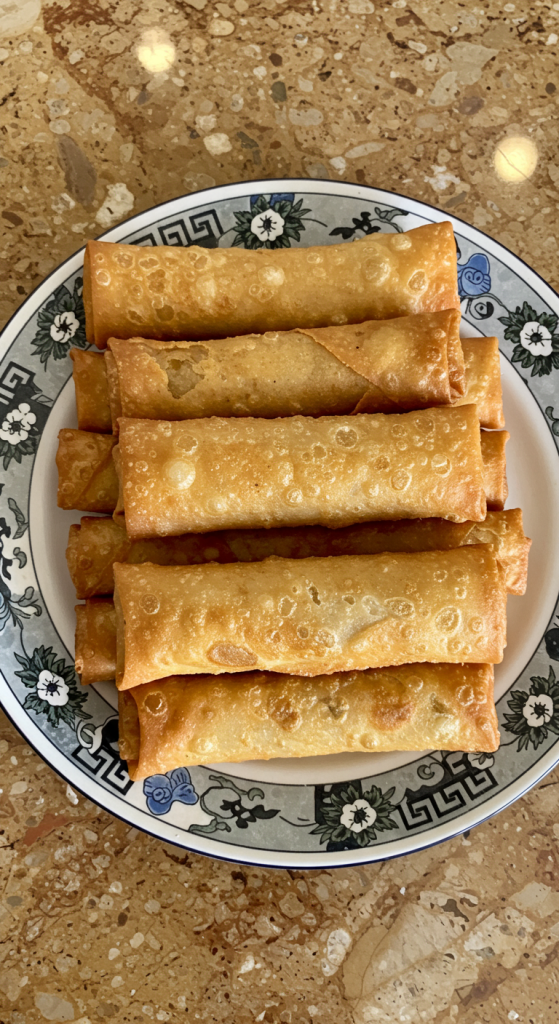
Heat oil in a deep skillet or pot to 350°F (175°C). Fry 3–4 rolls at a time, turning occasionally, until they’re golden brown and crispy. Drain on paper towels.
Recipe Variations and Possible Substitutions
You can swap the ground pork with ground turkey, beef, or tofu for a vegetarian version. Feel free to mix in bean sprouts, finely chopped bell peppers, or water chestnuts for added crunch. If you’re short on egg roll wrappers, spring roll wrappers can work in a pinch, although the texture will be a bit different. For a healthier option, bake the rolls at 400°F (200°C) for about 20–25 minutes, flipping halfway through.
Serving and Pairing Suggestions
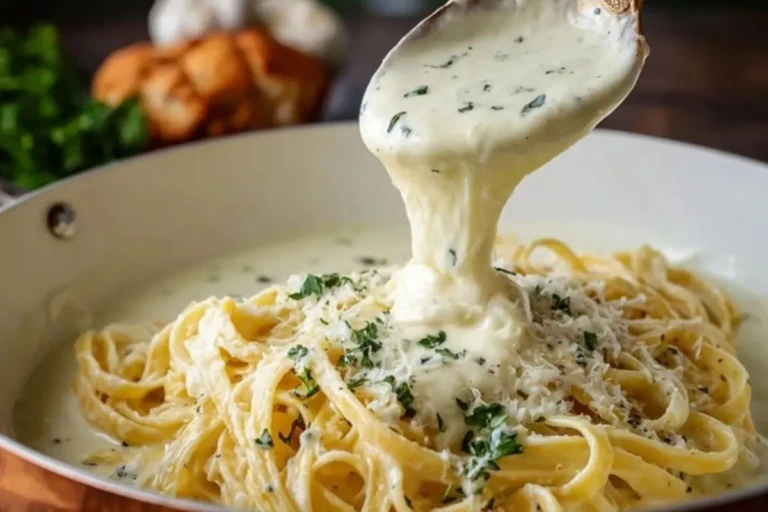
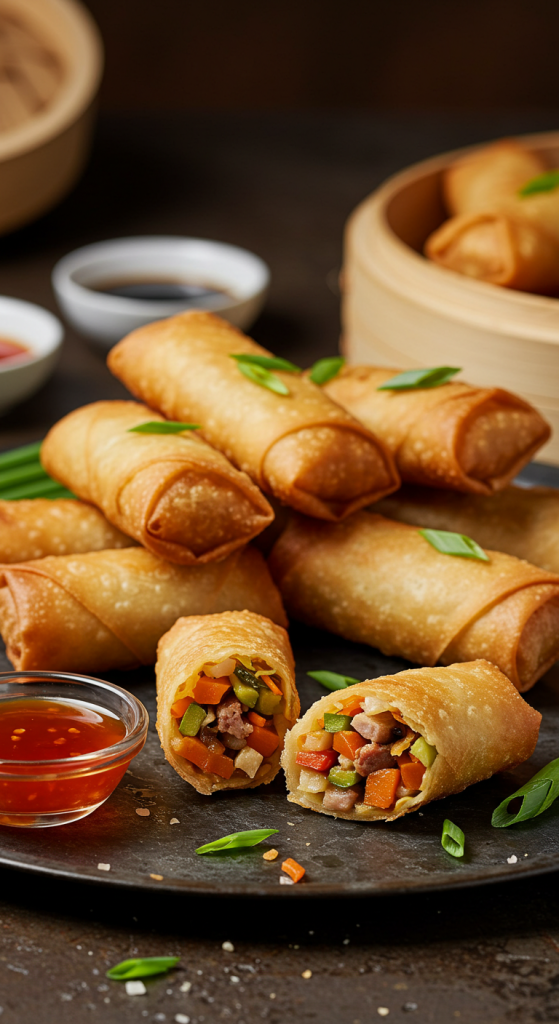
These egg rolls shine brightest when served hot and fresh, straight out of the fryer. I love to pair them with a simple dipping sauce made of soy sauce, rice vinegar, and a touch of honey or sweet chili sauce. They also go wonderfully with a side of fried rice or lo mein for a complete Chinese takeout-style dinner at home. For a lighter pairing, try serving them alongside a crisp Asian slaw or a cucumber salad to balance the richness.
If you’re making them for a party, arrange them in a spiral on a large platter with dipping sauces in the center. Trust me, they’ll be the first appetizer to vanish. They even pair surprisingly well with a cold beer or sparkling water with lime if you’re enjoying a casual evening with friends.


Storage and Reheating Tips
Store any leftover egg rolls in an airtight container in the refrigerator for up to 3 days. To reheat and preserve that crispiness, use the oven or an air fryer. Bake at 375°F (190°C) for about 10 minutes or until heated through. Avoid the microwave if possible—it softens the wrappers too much.
If you want to freeze them, place the uncooked rolls in a single layer on a baking sheet and freeze until solid, then transfer to a freezer-safe bag. Fry directly from frozen without thawing, just add an extra minute or two to the cooking time.
Frequently Asked Questions
How do I keep the egg rolls from becoming soggy?
Make sure the filling is completely cooled before wrapping, and avoid overstuffing. Fry in hot oil at the right temperature to ensure a crisp shell.
Can I bake these egg rolls instead of frying?
Yes! Brush with oil and bake at 400°F (200°C) for 20–25 minutes, flipping halfway through, for a lighter option.
What kind of wrappers should I use?
Look for egg roll wrappers in the refrigerated section of your grocery store. Spring roll wrappers are thinner and crispier but can work as a substitute.
Can I make these in advance?
Absolutely. You can prep and roll them a few hours ahead and store them in the fridge until you’re ready to fry. You can also freeze them for later.
What sauces go best with egg rolls?
Classic soy sauce, sweet chili sauce, plum sauce, or a homemade garlic soy dipping sauce all pair beautifully.
Related Recipe You’ll Like
If you loved these crispy egg rolls, you’ll probably enjoy making Homemade Wontons or Crispy Chicken Potstickers next. Both offer similar flavors with slightly different textures and are just as addictive. Check out my recipe for Sweet and Spicy Dipping Sauce to go with them!
Save and Share This Recipe for Later
Don’t forget to pin this recipe to your favorite appetizer or party food board on Pinterest so you can come back to it anytime. Share it with friends on Facebook or send it directly to someone who loves Chinese takeout. The more, the merrier—and I promise, everyone will thank you once they take a bite.
Crispy and Delicious Easy Chinese Egg Rolls Recipe
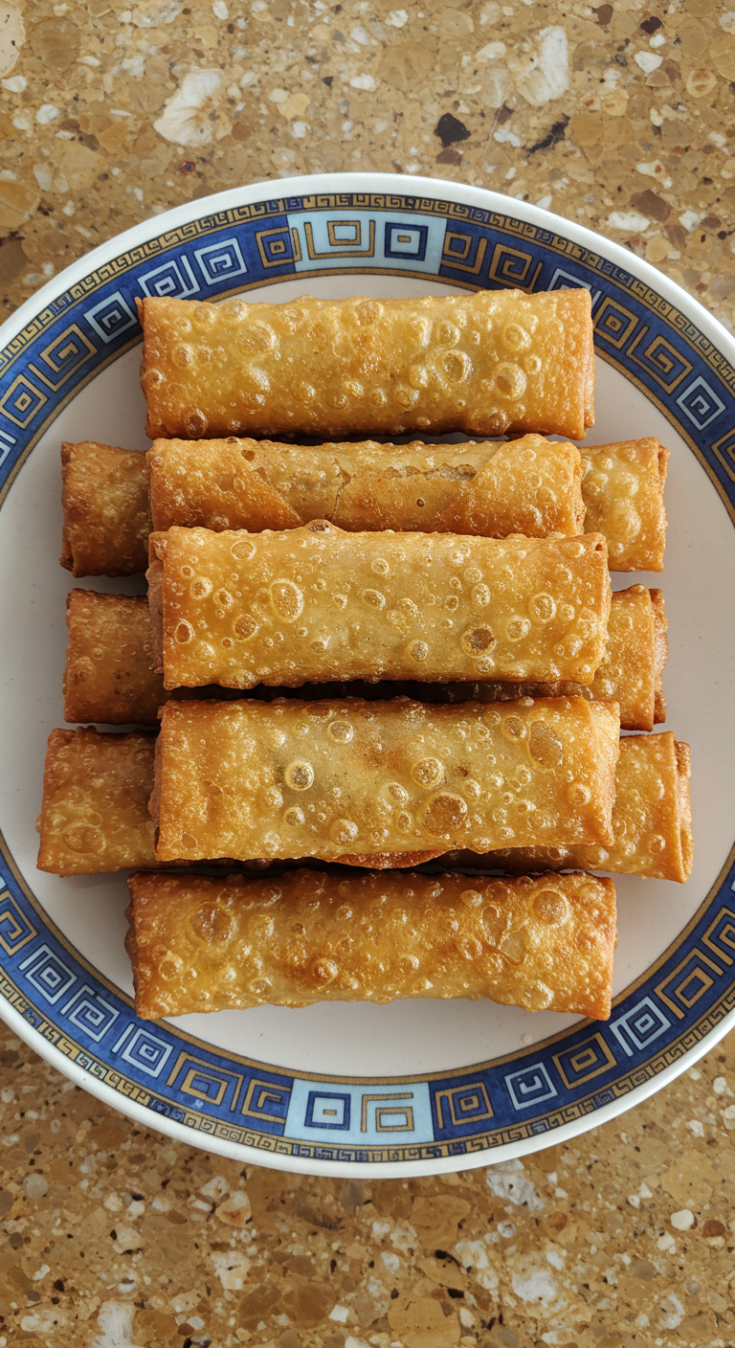
These crispy and delicious easy Chinese egg rolls are filled with a savory mix of seasoned ground pork, tender vegetables, and fragrant aromatics, all wrapped in a golden, perfectly fried shell. They're the ultimate homemade takeout treat—fresh, crunchy, and loaded with flavor in every bite. Ideal for parties, family dinners, or freezer-friendly meal prep, these egg rolls offer endless variation and unbeatable taste that rivals your favorite Chinese restaurant. Pair with soy sauce or sweet chili dip for an irresistible experience.
Ingredients
- 1 lb ground pork (or chicken or tofu)
- 2 cups shredded green cabbage
- 1 cup shredded carrots
- 1 cup chopped mushrooms
- 2 cloves garlic, minced
- 1 tbsp grated ginger
- 2 tbsp soy sauce
- 1 tsp sesame oil
- 12–15 egg roll wrappers
- Water for sealing
- Vegetable oil for frying
- Instructions:
Instructions
- In a large skillet, cook ground pork over medium-high heat until no longer pink. Drain excess fat.
- Add garlic, ginger, soy sauce, and sesame oil. Stir well.
- Add cabbage, carrots, and mushrooms. Cook until tender, about 5–7 minutes. Let the mixture cool completely.
- Place an egg roll wrapper on a clean surface in a diamond shape. Spoon 2 tablespoons of filling onto the center.
- Fold the bottom corner over the filling, fold in the sides, and roll tightly. Seal the top with a bit of water.
- Heat vegetable oil to 350°F (175°C) in a deep skillet or pot.
- Fry 3–4 egg rolls at a time until golden brown, turning occasionally. Drain on paper towels.
- Serve hot with your favorite dipping sauce.
Notes
- Be sure the filling is completely cooled before rolling to prevent soggy wrappers.
- You can freeze uncooked egg rolls in a single layer and fry them straight from frozen.
- For a healthier version, brush with oil and bake at 400°F (200°C) for 20–25 minutes, flipping once.
- Customize the filling with bean sprouts, bell peppers, or water chestnuts for extra crunch.
- Use an air fryer to reheat and retain crispiness without additional oil.