Easy Cauliflower Pizza Crust
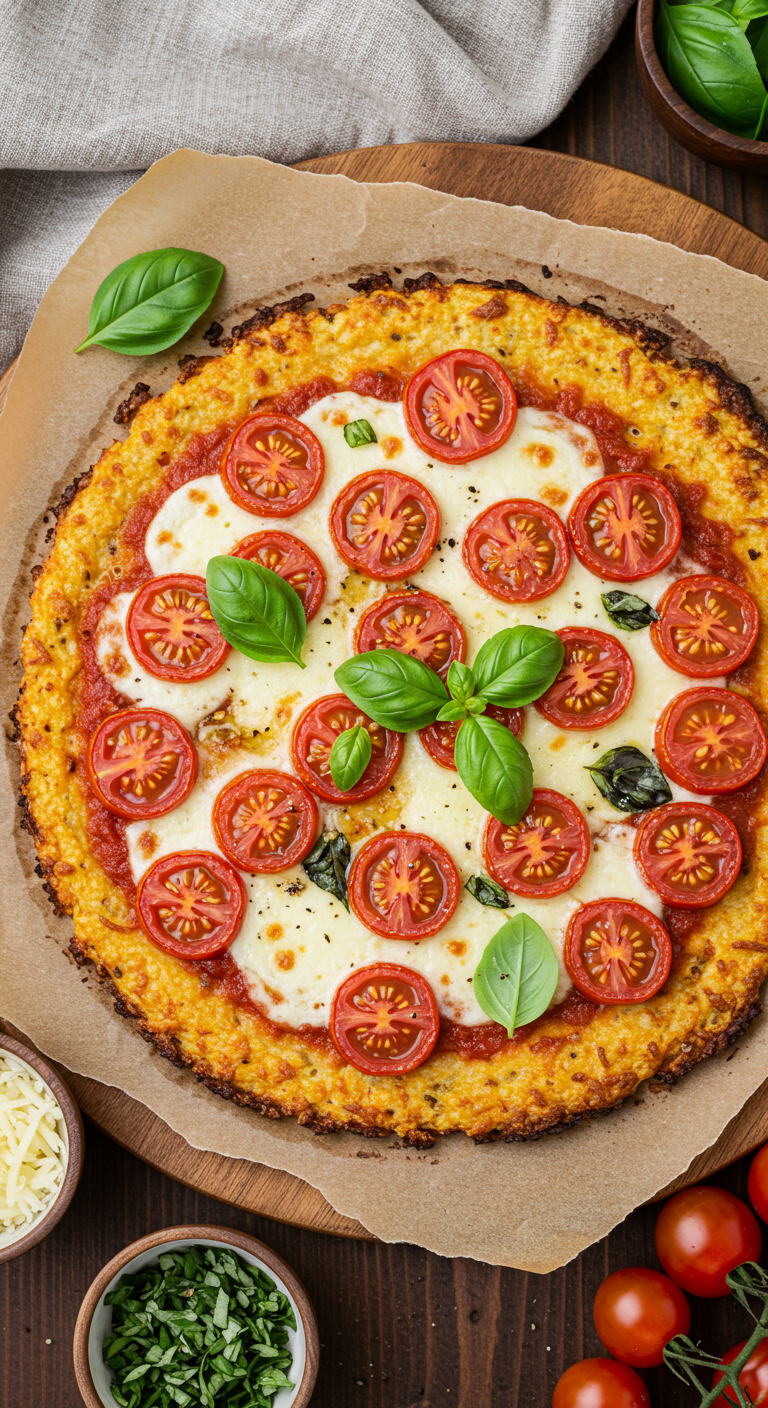

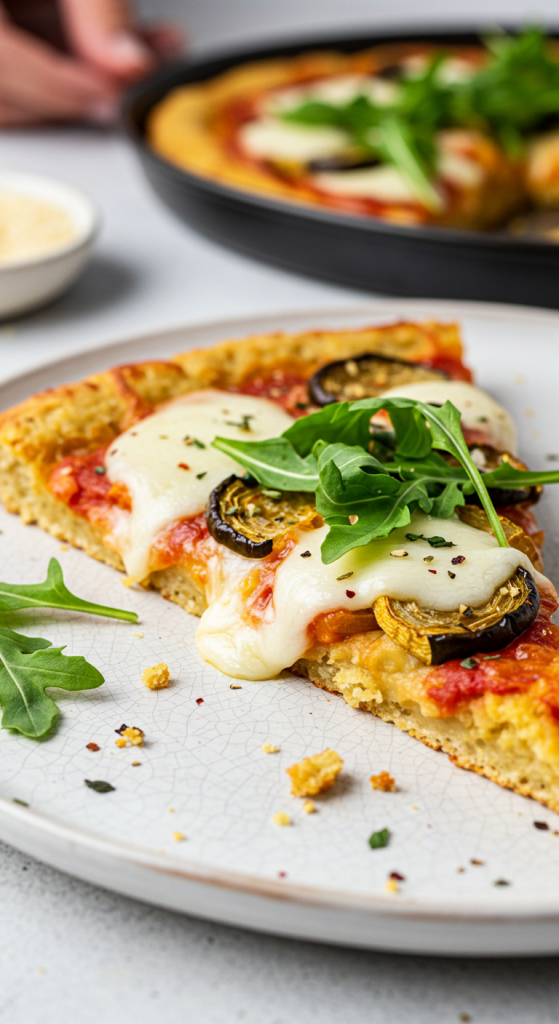
I never imagined I’d love a pizza crust that doesn’t involve flour, yeast, or kneading. But this easy cauliflower pizza crust changed everything. It’s golden, crisp around the edges, and strong enough to hold all my favorite toppings, yet it’s entirely gluten-free and low-carb. Honestly, it made me fall back in love with pizza nights.
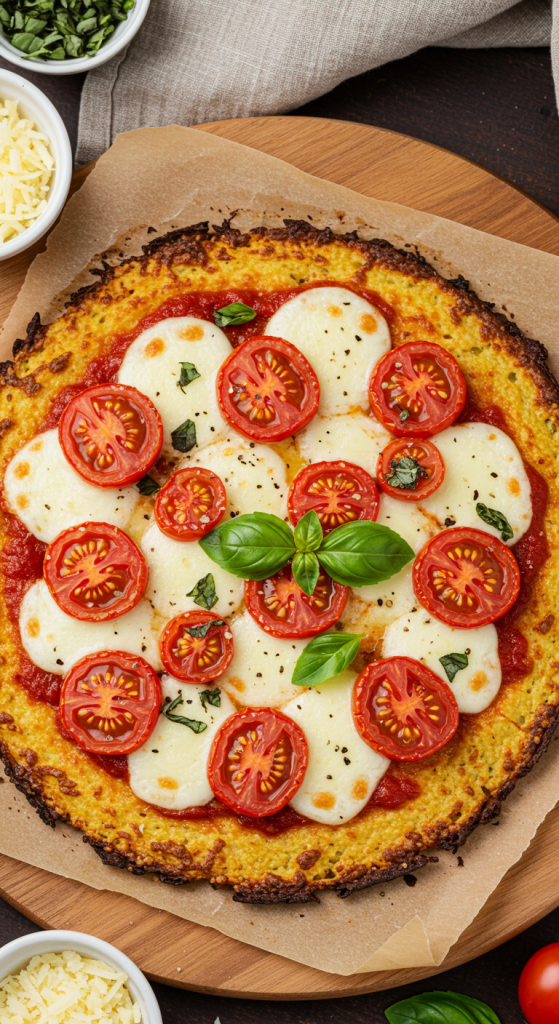
The first time I made this crust, I was skeptical. I thought it would fall apart or taste too much like a vegetable side dish, but after the first bite, I was hooked. The mix of mozzarella, Parmesan, egg, and herbs gives the crust a cheesy and savory richness that’s hard to resist. It holds up impressively well, and the fact that it’s veggie-based is a bonus.
Now, I turn to this recipe anytime I want to enjoy pizza without the carb overload. Whether you’re watching your carbs or just craving something different, this cauliflower crust will surprise you in the best way.


Why You’ll Love This Easy Cauliflower Pizza Crust
It’s incredibly satisfying with its cheesy, chewy, and crispy texture, making it a stellar alternative to traditional crust. This recipe is perfect for gluten-free and keto lifestyles, but it doesn’t compromise on flavor. The prep is straightforward, and once you try it, you’ll find yourself making it over and over again. It’s pizza night with a healthy twist that still feels indulgent.
Ingredients
Cauliflower: This is the base of the crust. It needs to be finely riced and cooked to remove moisture. It creates a structure that mimics dough when combined with other ingredients.
Mozzarella cheese: Essential for binding and richness. It melts into the cauliflower, helping everything stick together.
Parmesan cheese: Adds that sharp, nutty flavor and helps firm up the texture.
Egg: Acts as a glue to hold the crust together.
Dried Italian herbs: These bring a pizza-like flavor that elevates the crust.
Salt and black pepper: Just a pinch enhances all the other flavors.
How to Make Easy Cauliflower Pizza Crust
Step 1: Prepare the Cauliflower
Start by ricing a head of cauliflower using a food processor or a grater. It should resemble fine rice. Then, steam or microwave the riced cauliflower until tender. Let it cool slightly before placing it in a clean kitchen towel to squeeze out as much water as possible. This step is crucial to avoid a soggy crust.
Step 2: Mix the Dough
In a large bowl, combine the cooked and squeezed cauliflower with shredded mozzarella, Parmesan, egg, herbs, salt, and pepper. Mix thoroughly until it forms a uniform dough-like mixture.
Step 3: Form and Bake the Crust
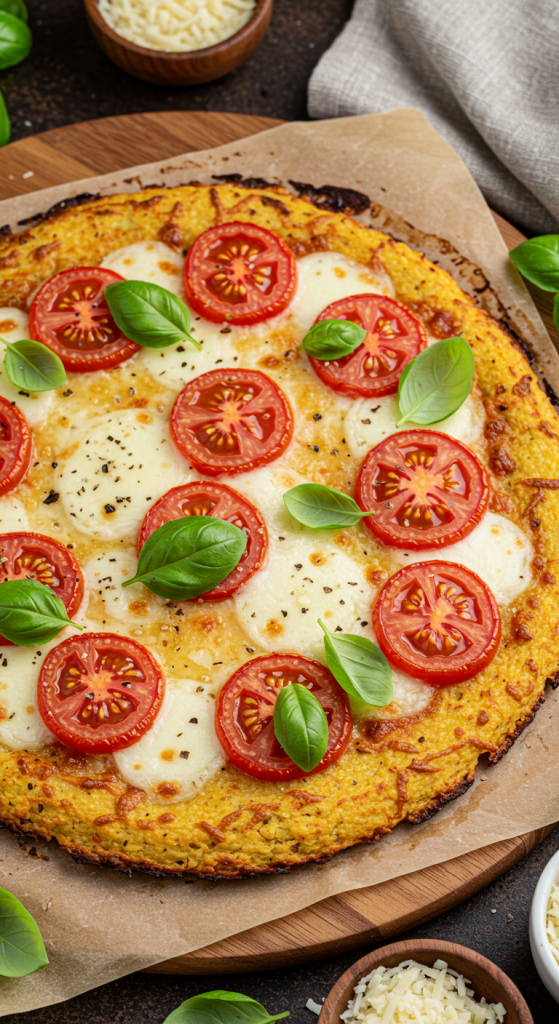
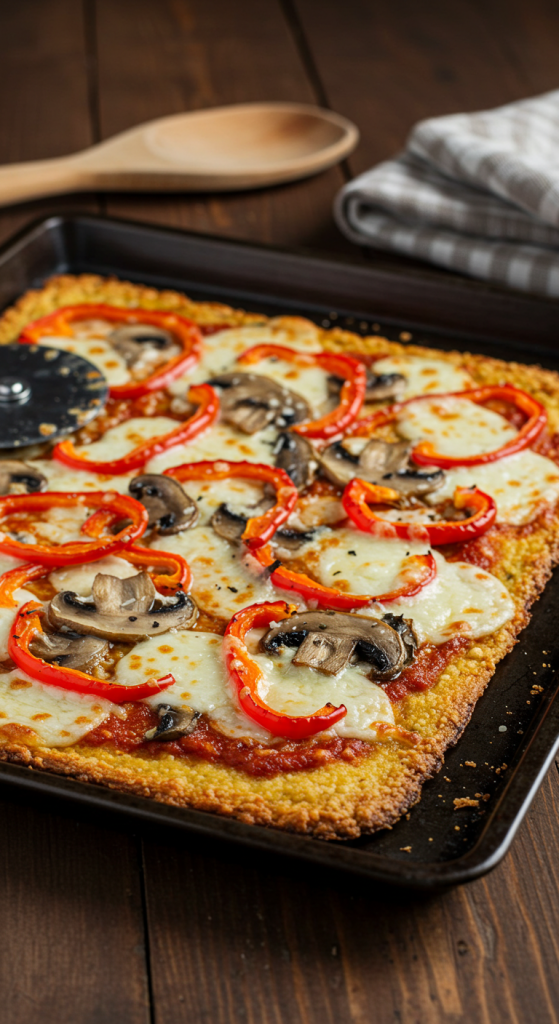
Line a baking sheet or pizza pan with parchment paper and lightly oil it. Press the cauliflower mixture onto the paper, shaping it into a round or rectangular crust about 1/4-inch thick. Bake in a preheated oven at 425°F (220°C) for about 20 minutes until it turns golden and the edges crisp up.
Step 4: Add Toppings and Finish Baking
Once the crust is baked and holds together well, remove it from the oven and add your favorite pizza toppings. Return it to the oven and bake for an additional 10 minutes or until the cheese on top is melted and bubbly.
Recipe Variations and Possible Substitutions
You can easily tweak this cauliflower pizza crust to match your taste or dietary needs. Swap out mozzarella with dairy-free cheese for a vegan version, but be sure to use a flax egg to bind it all together. Add a bit of almond flour or coconut flour if you want a firmer, slightly nutty crust. For flavor variations, try mixing in garlic powder, crushed red pepper flakes, or even a touch of pesto into the crust mixture.
Serving and Pairing Suggestions
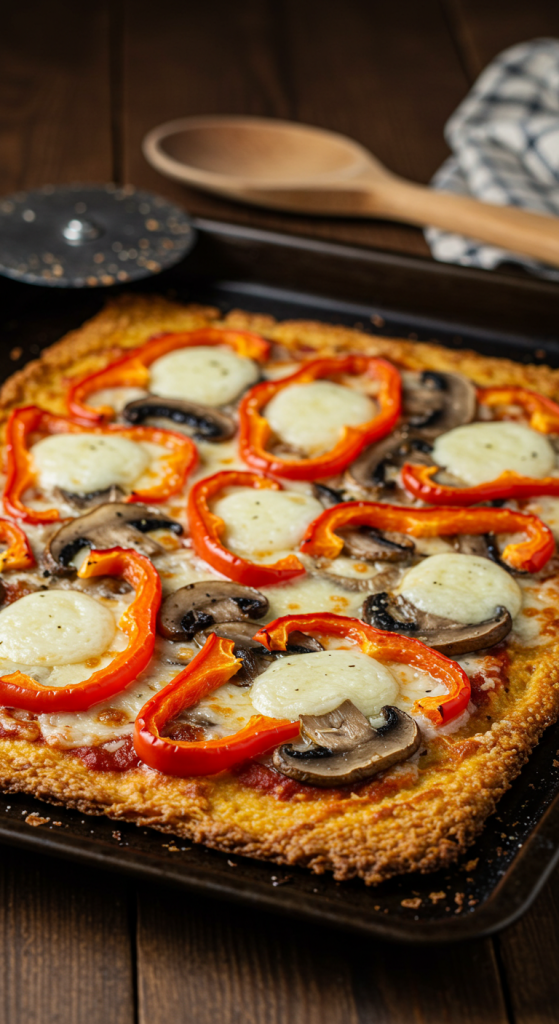
This crust pairs perfectly with a wide variety of toppings, from classic marinara and mozzarella to gourmet combinations like goat cheese, caramelized onions, and arugula. Serve your pizza with a fresh garden salad or roasted vegetables for a complete meal. It also makes a great appetizer when cut into small squares and served with dipping sauces.
Storage and Reheating Tips
Store any leftover cauliflower pizza slices in an airtight container in the refrigerator for up to 3 days. For best results, reheat in a preheated oven or toaster oven at 375°F until warmed through and crisp again. Microwaving works in a pinch but will soften the crust.
FAQs
How do I keep easy cauliflower pizza crust from getting soggy?
The key is to thoroughly squeeze out all moisture from the cooked cauliflower before mixing. Also, don’t overload the crust with wet toppings.
Can I freeze easy cauliflower pizza crust?
Yes! You can freeze the baked crust before adding toppings. Wrap it in parchment and foil, then store in a freezer bag for up to 2 months.
Does easy cauliflower pizza crust taste like cauliflower?
Not really. It has a subtle veggie flavor, but the cheese and herbs dominate, making it taste more like a savory cheesy flatbread.
Is easy cauliflower pizza crust keto-friendly?
Absolutely. It’s low in carbs and high in protein and healthy fats thanks to the cheese and egg.
Can I use frozen cauliflower rice for this recipe?
Yes, just make sure to steam it thoroughly and squeeze out every bit of moisture before mixing.
Related Recipe You’ll Like
If you love healthy takes on comfort food, you’ll enjoy the Keto Hamburger and Broccoli Skillet for a quick low-carb dinner. You might also want to try the Quick Creamy Cajun Pasta if you’re craving something cozy, or switch things up with a colorful Stuffed Bell Pepper inspired skillet that blends hearty flavors with healthy ingredients.
Save and Share This Recipe for Later
If this easy cauliflower pizza crust made your dinner night a success, don’t forget to save it! Pin this recipe on Pinterest so you can come back to it anytime. Share it with friends who are looking for low-carb alternatives or love creative pizza ideas. Whether you’re cooking for yourself or feeding a crowd, this crust deserves a place in your recipe collection.
Easy Cauliflower Pizza Crust

This easy cauliflower pizza crust recipe delivers a delicious, crispy, and satisfying alternative to traditional pizza dough. Made from simple, wholesome ingredients like fresh cauliflower, cheese, and herbs, this low-carb crust is gluten-free, keto-friendly, and packed with flavor. It’s sturdy enough to hold your favorite toppings and bakes to a golden perfection every time. Whether you're following a special diet or just want a creative take on pizza night, this crust is your go-to for healthier indulgence.
Ingredients
- 1 medium head cauliflower, riced
- 1/2 cup shredded mozzarella cheese
- 1/4 cup grated Parmesan cheese
- 1 large egg
- 1/2 teaspoon dried Italian herbs
- 1/4 teaspoon salt
- 1/4 teaspoon black pepper
Instructions
- Preheat oven to 425°F (220°C). Line a baking sheet or pizza pan with parchment paper.
- Rice the cauliflower using a food processor or box grater until fine like rice.
- Steam or microwave the riced cauliflower until tender. Let cool.
- Place cauliflower in a clean kitchen towel and squeeze out all excess moisture.
- In a bowl, combine cauliflower, mozzarella, Parmesan, egg, herbs, salt, and pepper. Mix thoroughly.
- Press mixture onto the prepared baking sheet into a crust shape, about 1/4 inch thick.
- Bake for 20 minutes until golden and crisp at the edges.
- Remove, add toppings of choice, and bake an additional 10 minutes or until cheese melts.
Notes
- Removing moisture from the cauliflower is essential for a firm crust.
- You can use frozen cauliflower rice; just cook and squeeze it dry.
- Customize with your favorite herbs and spices.
- Use a pizza stone for an even crispier base.
Nutrition Information:
Yield:
1Serving Size:
1Amount Per Serving: Calories: 442Total Fat: 23gSaturated Fat: 11gTrans Fat: 1gUnsaturated Fat: 9gCholesterol: 235mgSodium: 1431mgCarbohydrates: 31gFiber: 13gSugar: 13gProtein: 34g